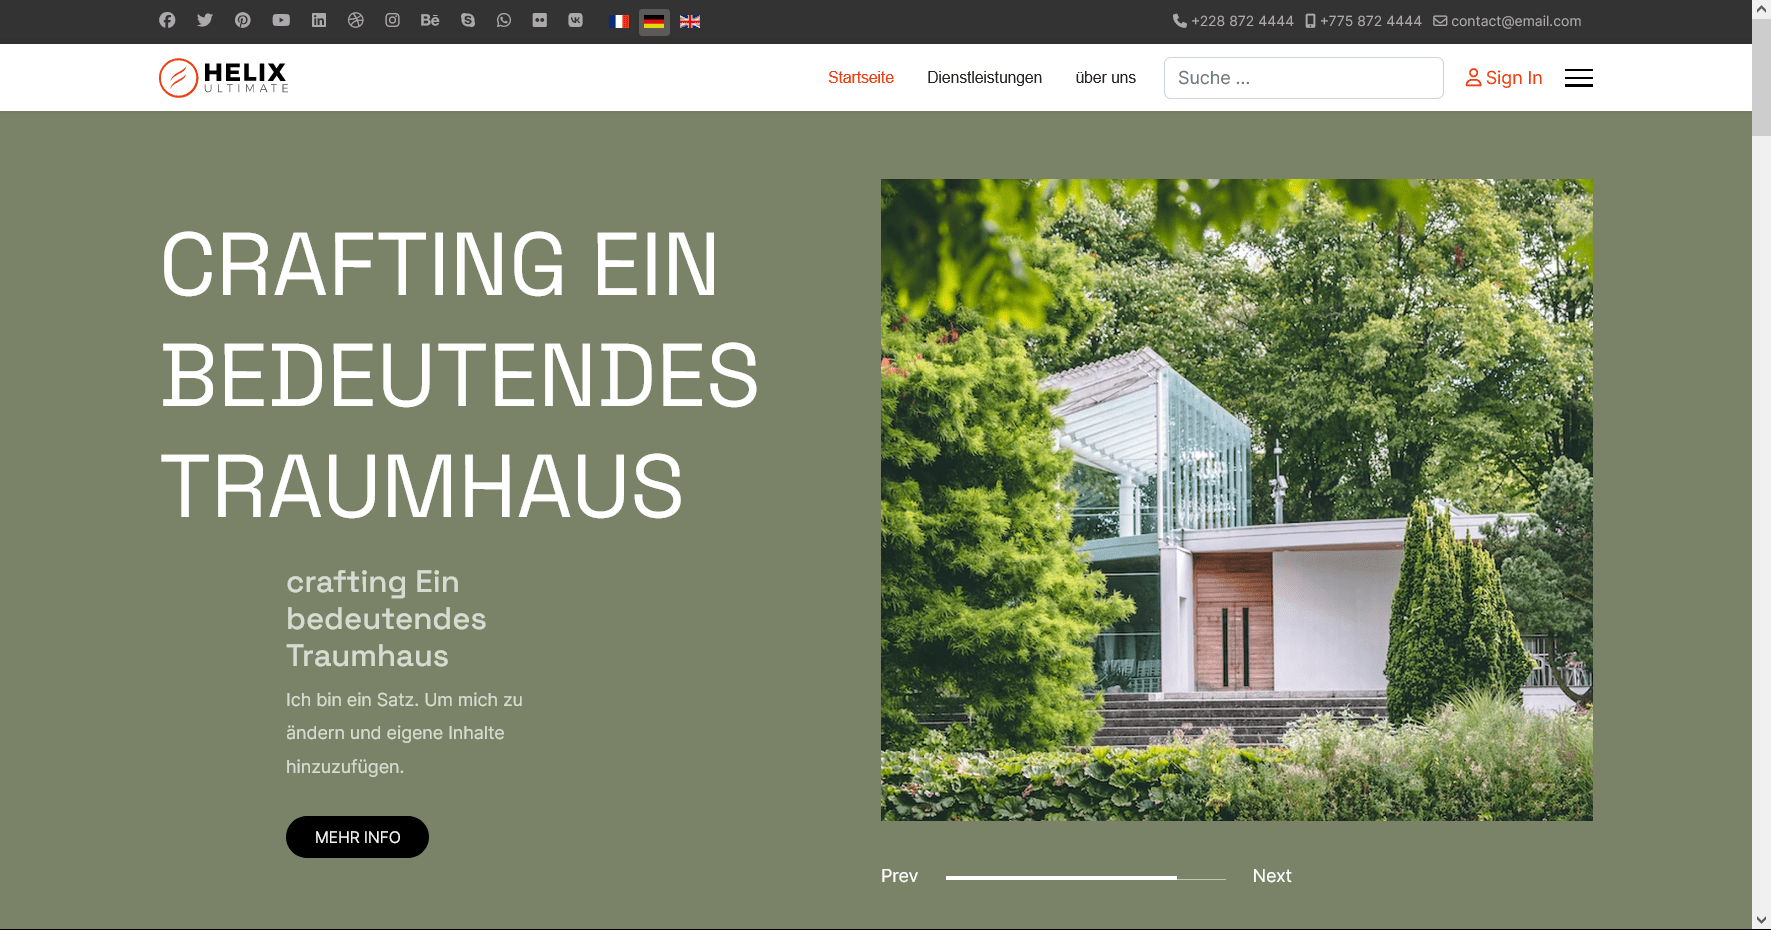
How to Create a Multilingual Site in Joomla 5 Using Helix Ultimate
This tutorial use Falang and Translate for SP Page builder
Based on the Joomshaper documentation with full native system https://www.joomshaper.com/blog/how-to-create-a-multilingual-site-in-joomla-4-using-helix-ultimate
Owning a multilingual website can offer numerous advantages beyond what you might anticipate. These benefits span from boosting website traffic and sales to enhancing brand visibility and fostering a sense of trustworthiness. With the growing demand for multilingual websites, many companies are recognizing the cost-effectiveness of this approach to website development and are adopting it as a standard practice.
In this tutorial, we'll explore the process of creating a multilingual website in Joomla 5 using the top Joomla template framework, Helix Ultimate. By carefully following the step-by-step instructions outlined in this guide, you'll have your multilingual control panel and website up and running in no time.
Without delay, let's dive straight into the tutorial.
Step 1: Install the Required Languages
Let's begin by installing the languages you desire to be displayed on your website to kickstart the process of making it multilingual.
Begin by logging into your Joomla administration control panel. Once logged in, navigate to System > Install > Languages from your dashboard. From the list provided, select your desired languages and proceed to install them by clicking the "Install" button.
For this tutorial, we will install French and German languages and keep English as the default language.
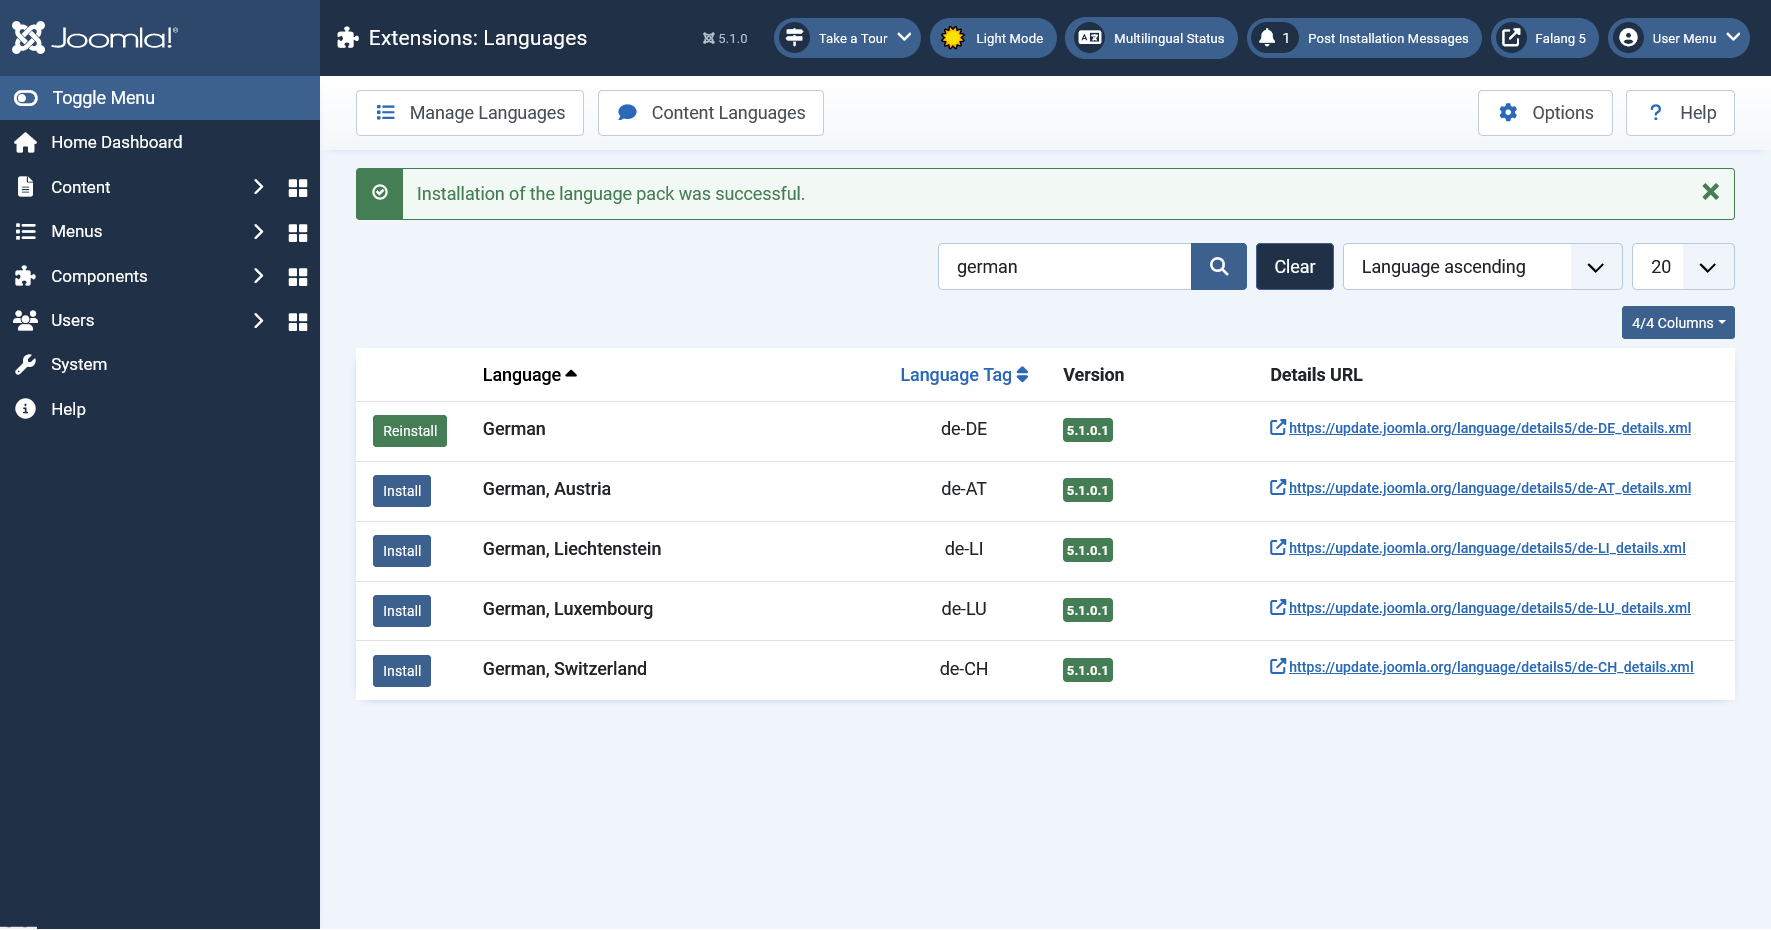
The system will show the message “Installation of the language pack was successful” upon the language installation.
Step 2: Enable Content Language
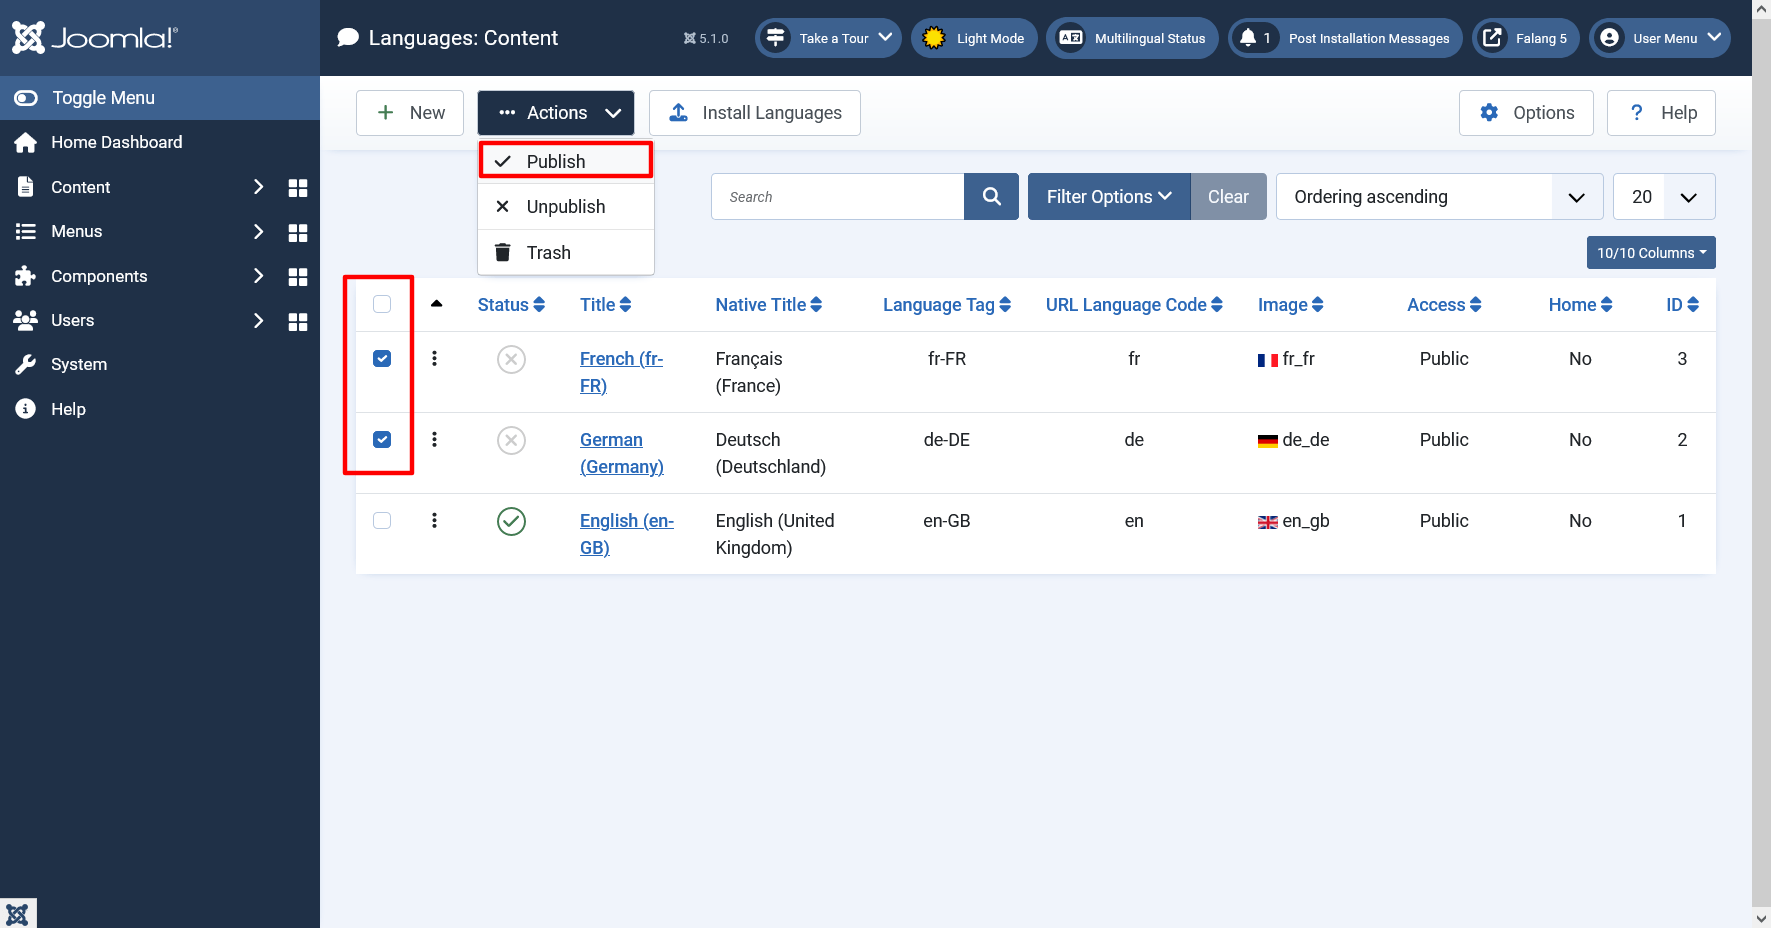
Now we need to enable the languages that we have installed in Step 1. To do so go to System > Manage > Content Languages. Select the languages you installed and choose Publish from the Actions drop-down menu.
Step 3: Install the Falang component
Next come the installation of the Falang component, use to translate the menu/module...
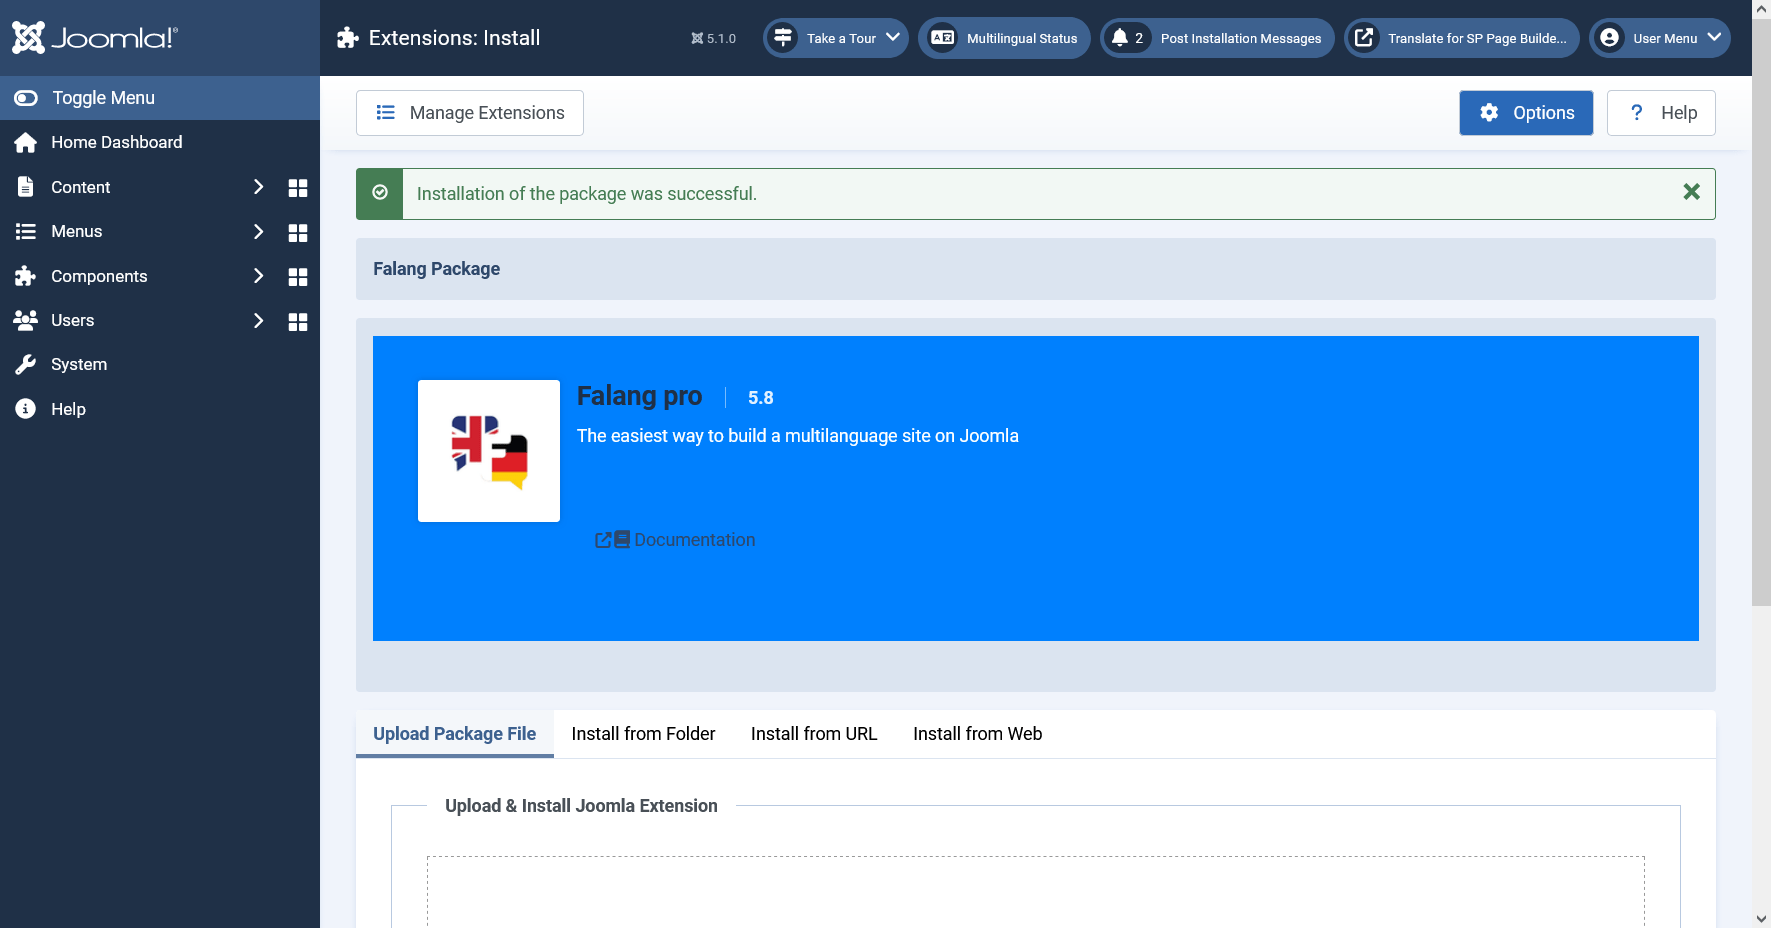
Go to System > Install > Extensions and install the Falang package (free, basic, standard or pro)
Step 4: Install the Translate for SP Page Builder plugin
The Translate for SP Page builder plugin is used to translate the SP Page builder page
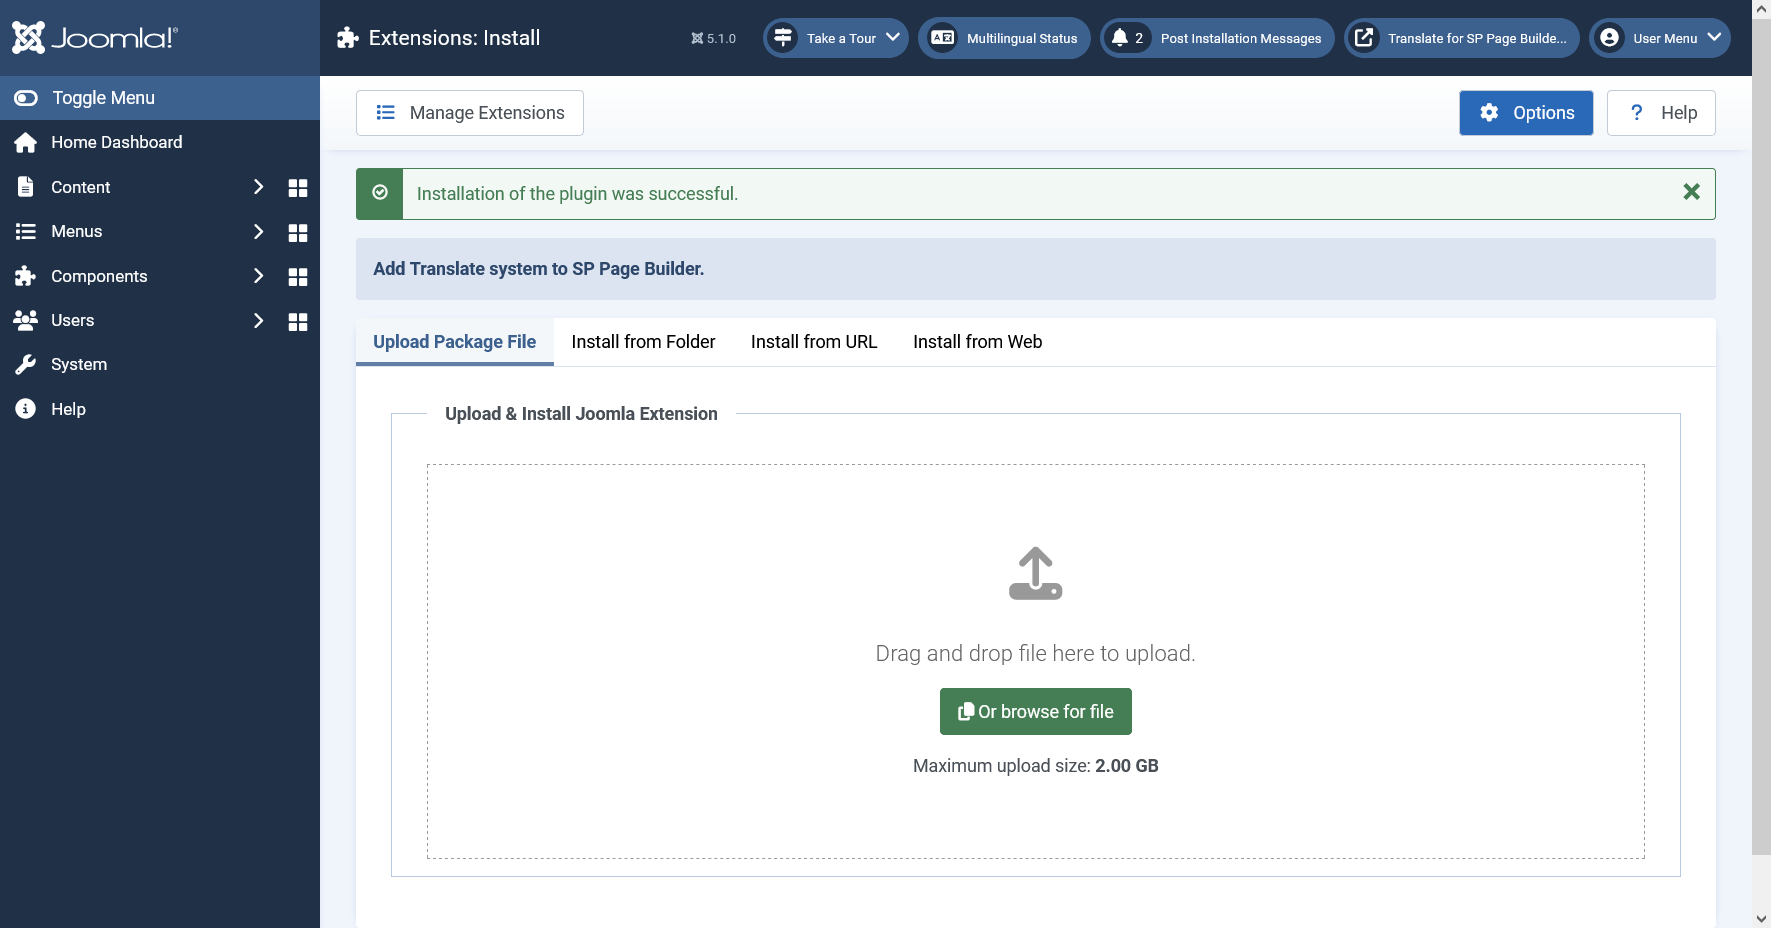
Do the same for this plugin , Go to System > Install > Extensions and install the Translate for sp page builder plugin (lite, basic , standard)
Step 5: Pubish the Plugins
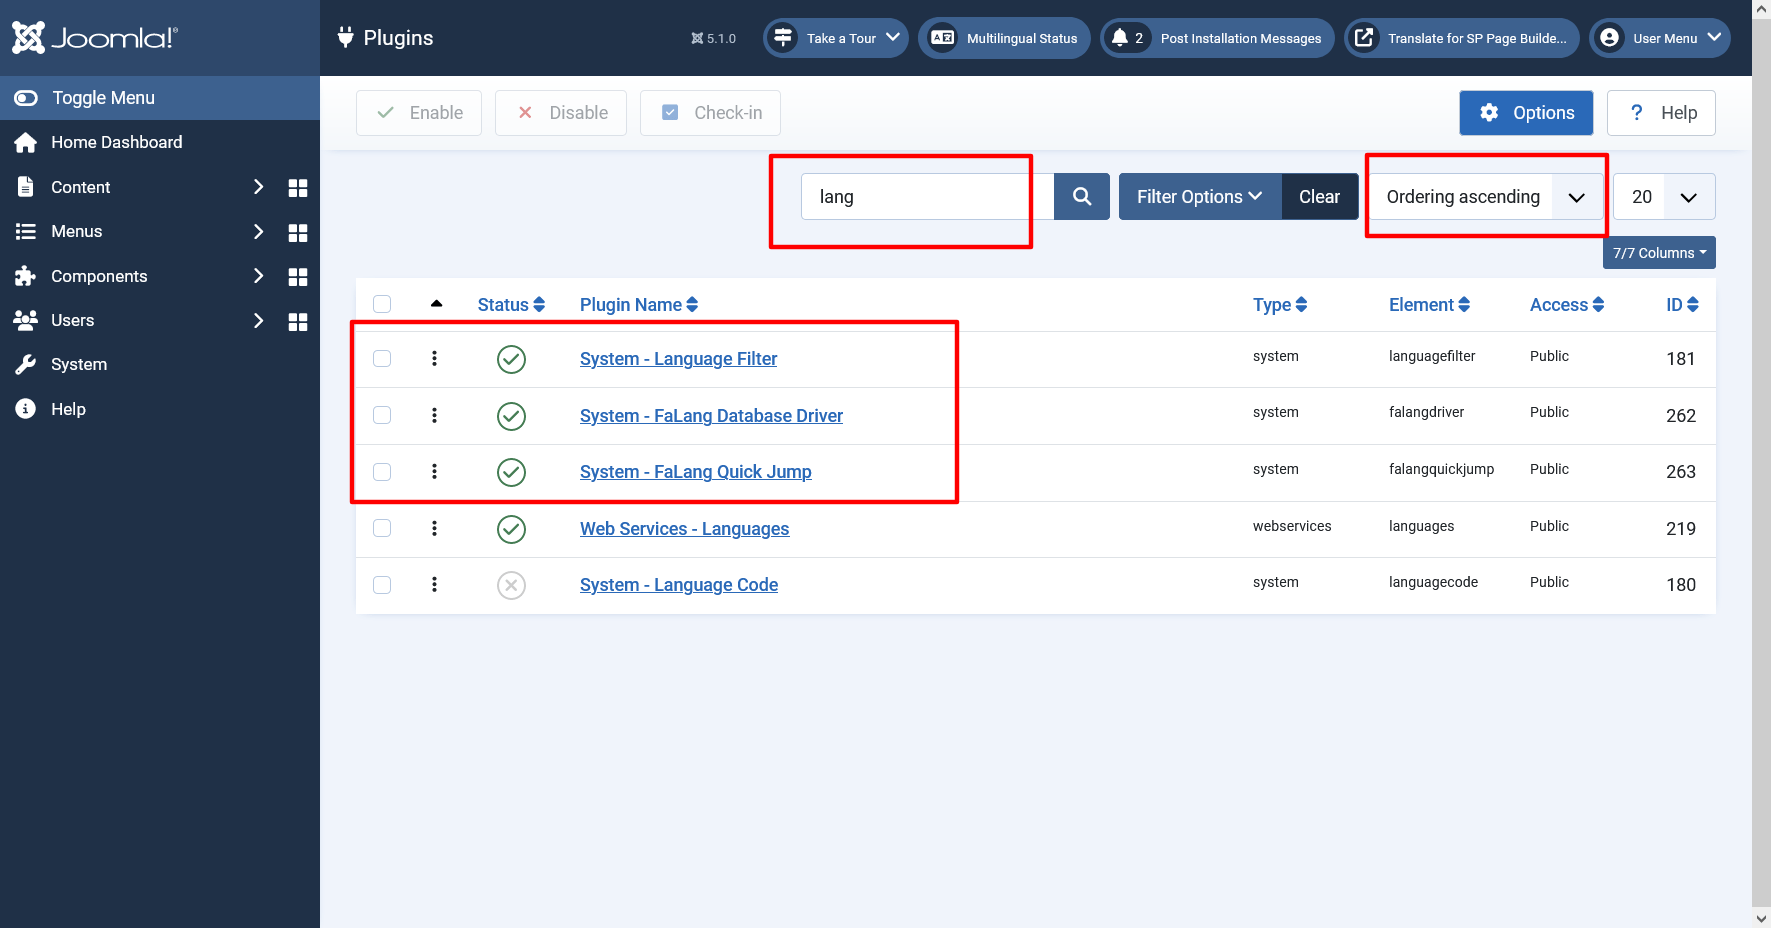
Next comes the publication of the plugins you need at least to publish
- System - Language Filter
- System - Falang database Driver
- System - Falang Quickjump (optional)
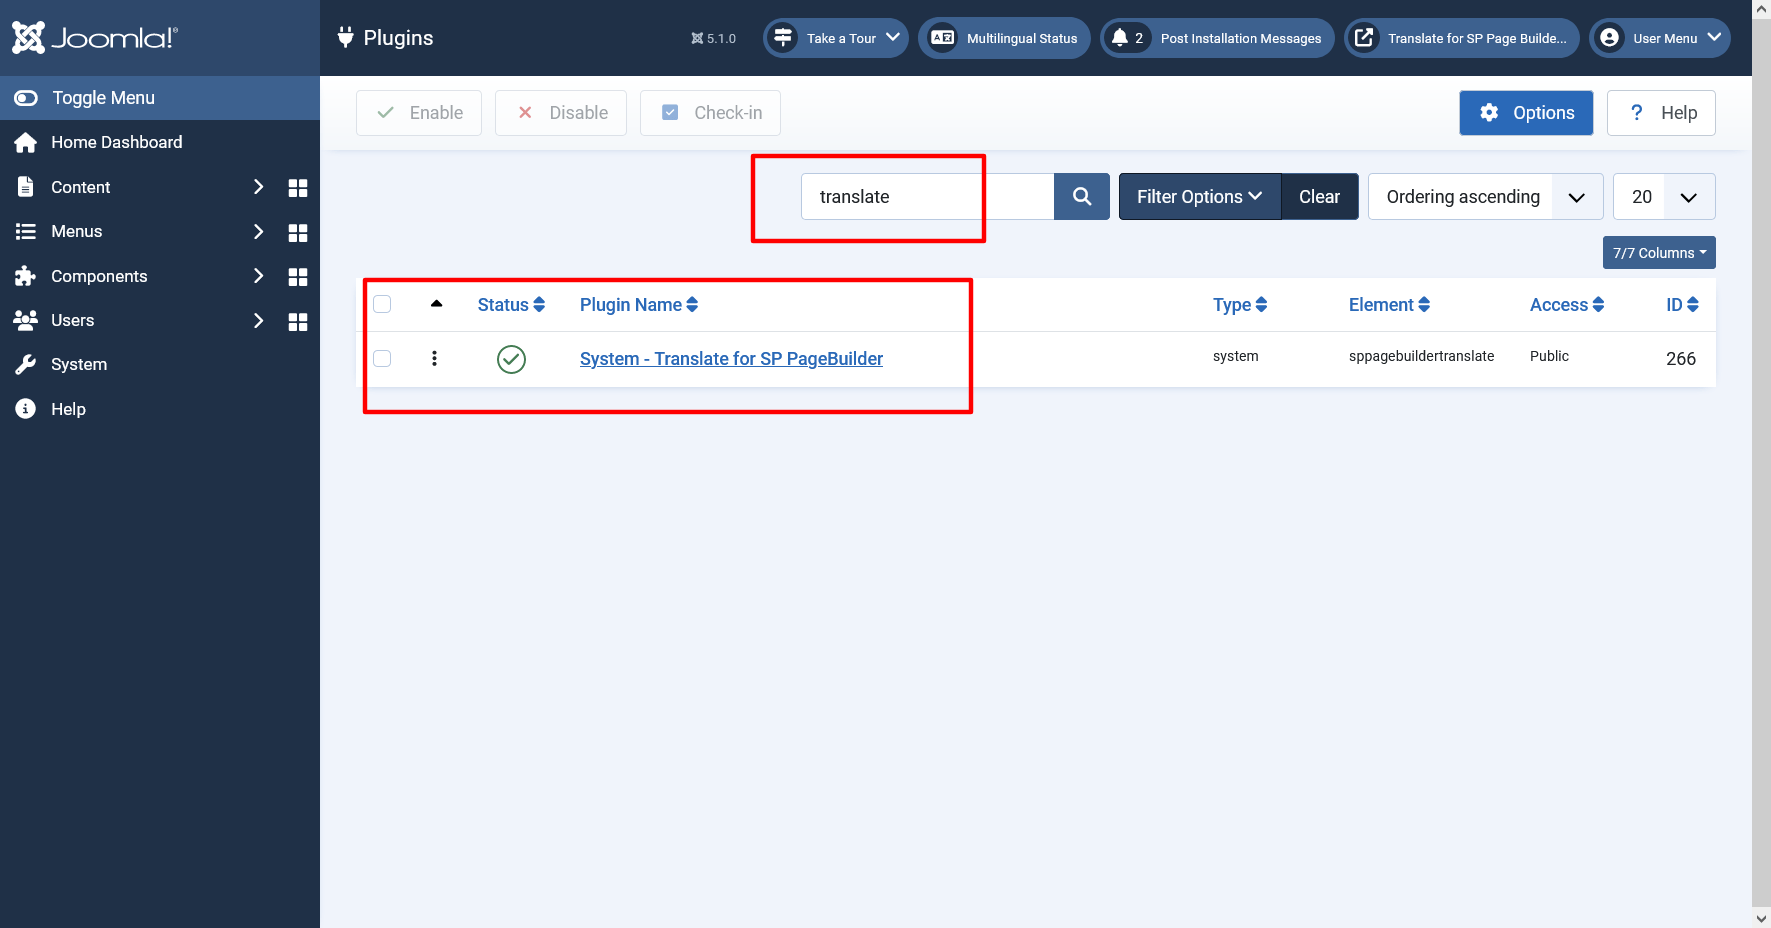
- System - Translate for SP Page Builder
Step 6: Translate menu item
Once you have translated all menu item to all languages, we can start translating SP Page Builder Page
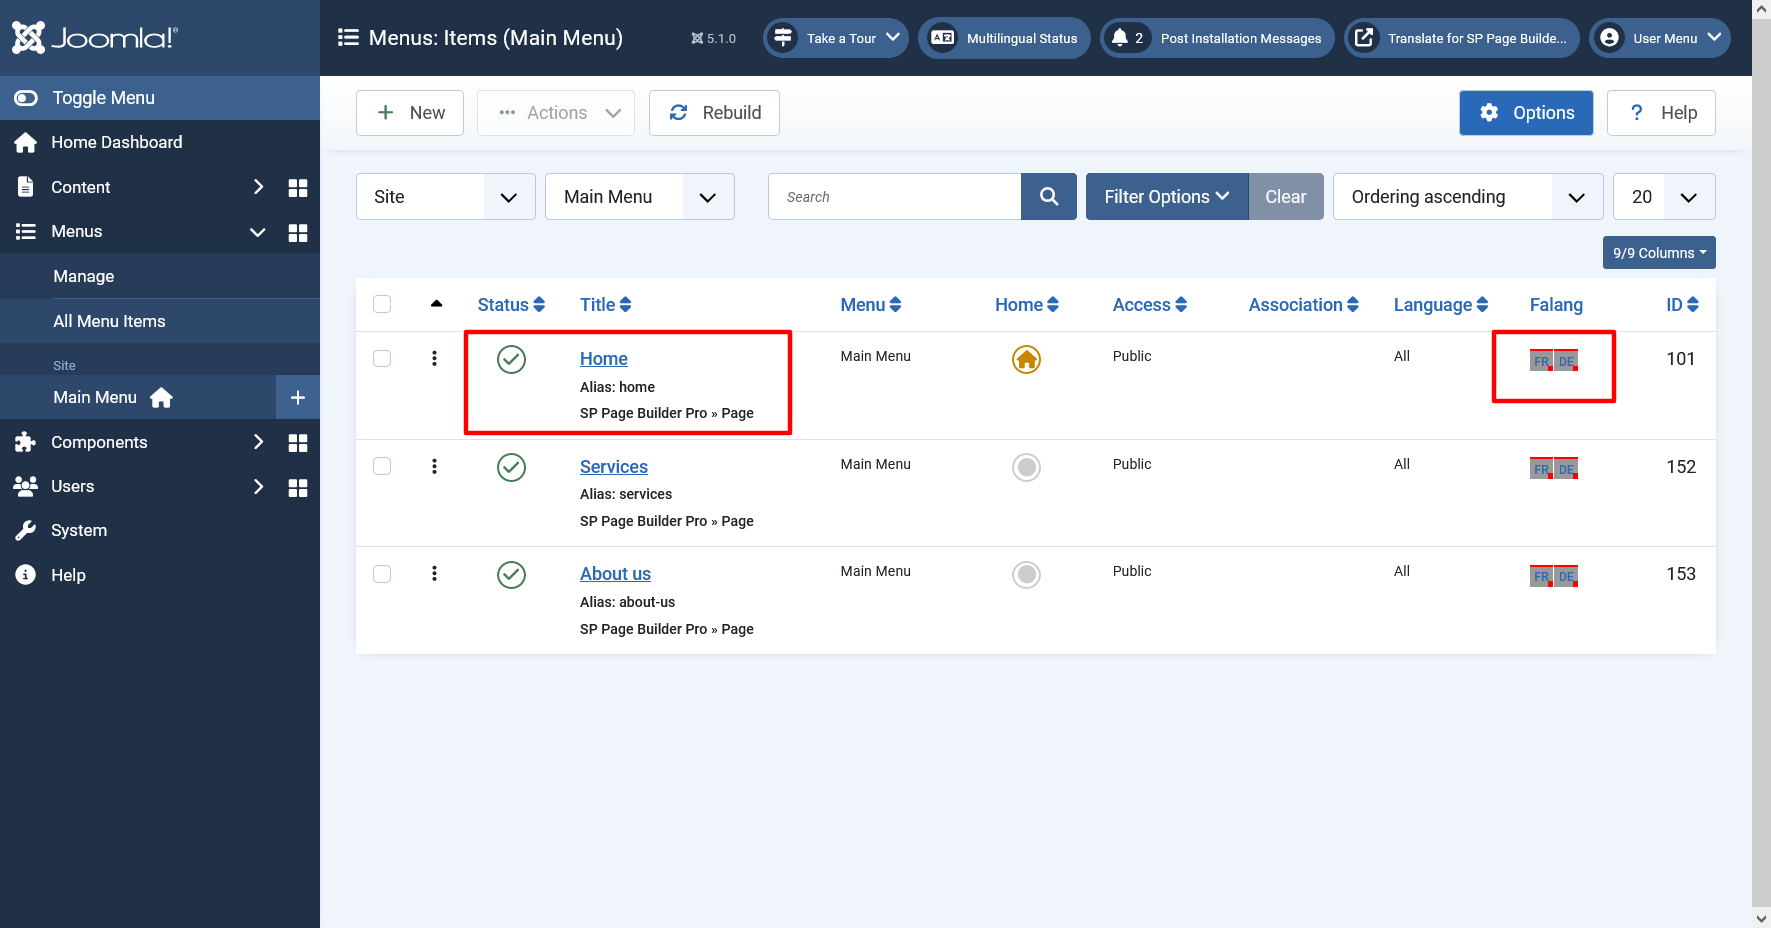
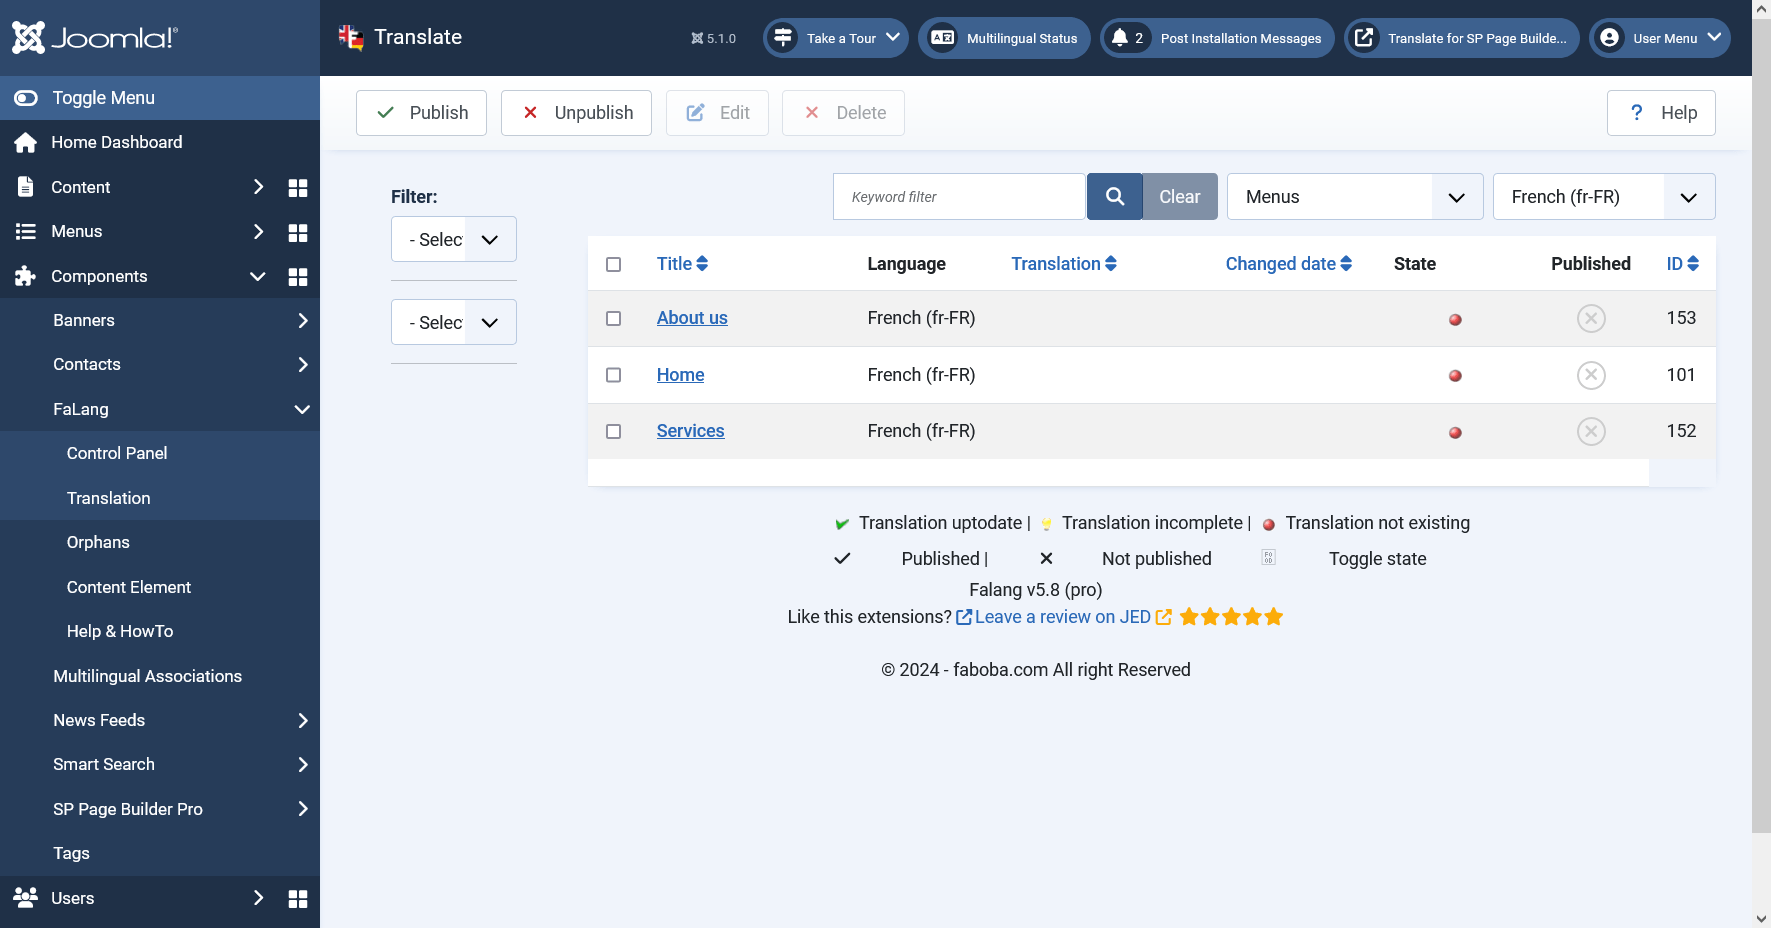
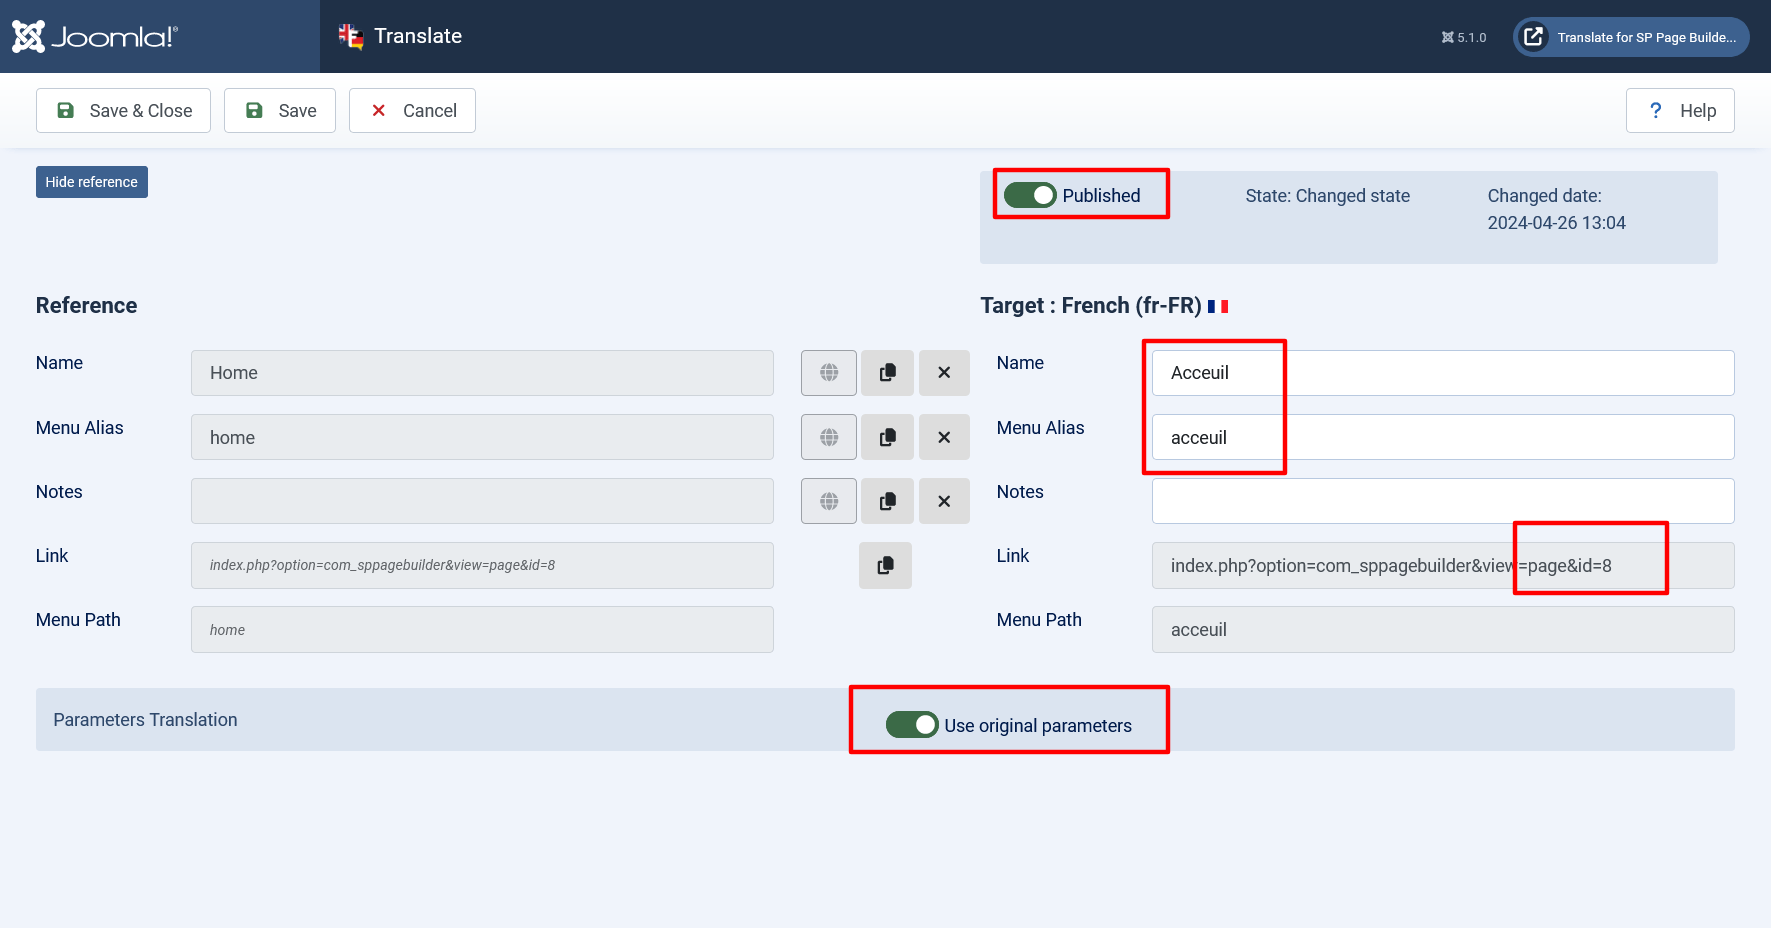
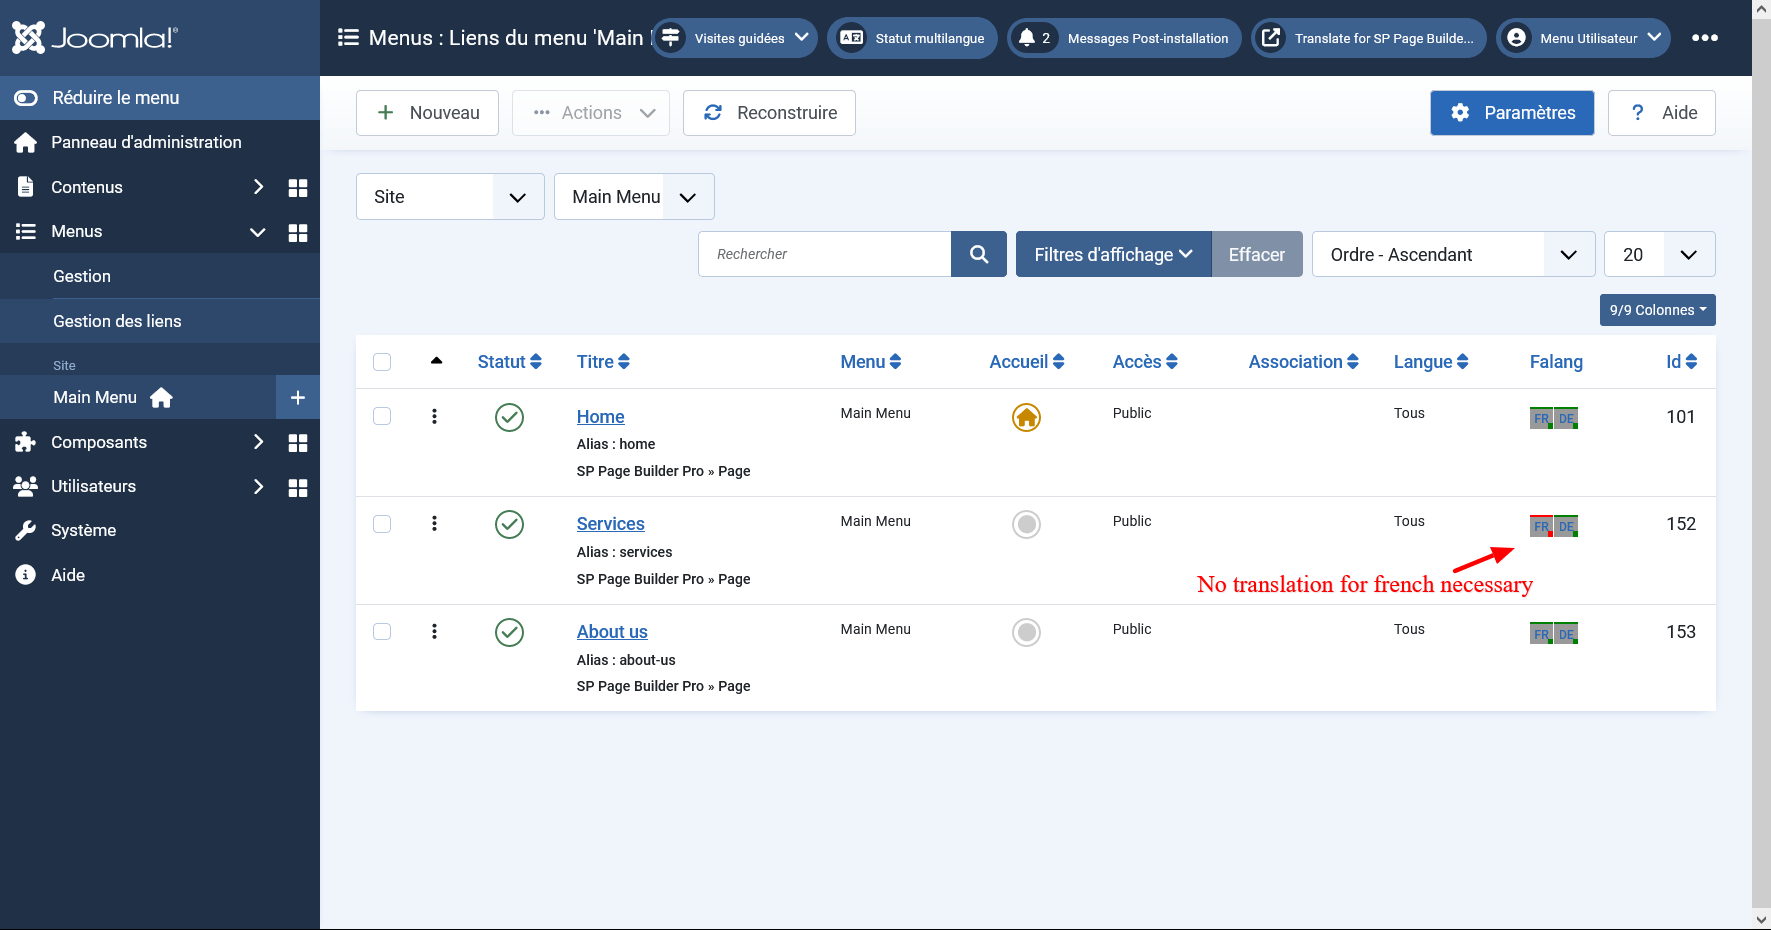
The result in Falang for all menu item translated
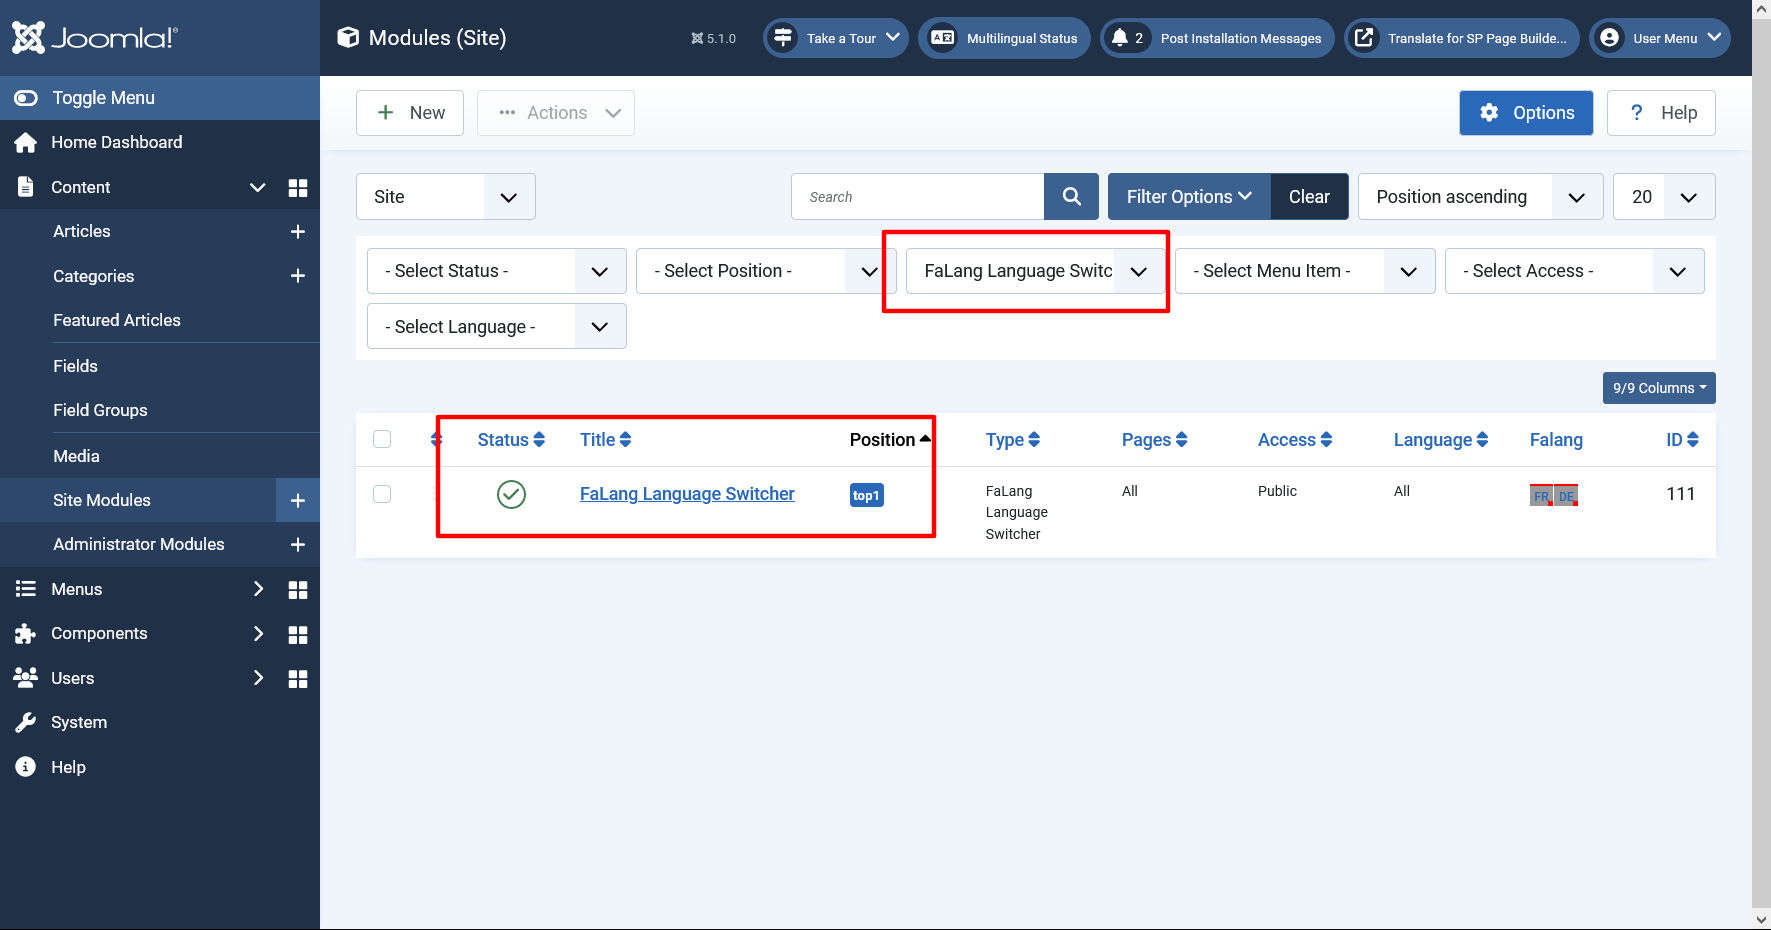
Step 7: Enable Falang Language Switcher Module
The next step is to activate the Falang language switcher module. This module displays the published content languages that you want to display and enables users to switch between the list of available content languages in a multilingual site.
Go to Content > Site Modules > Select the Falang Language Switcher module. Installed by default during the Falang package installation.
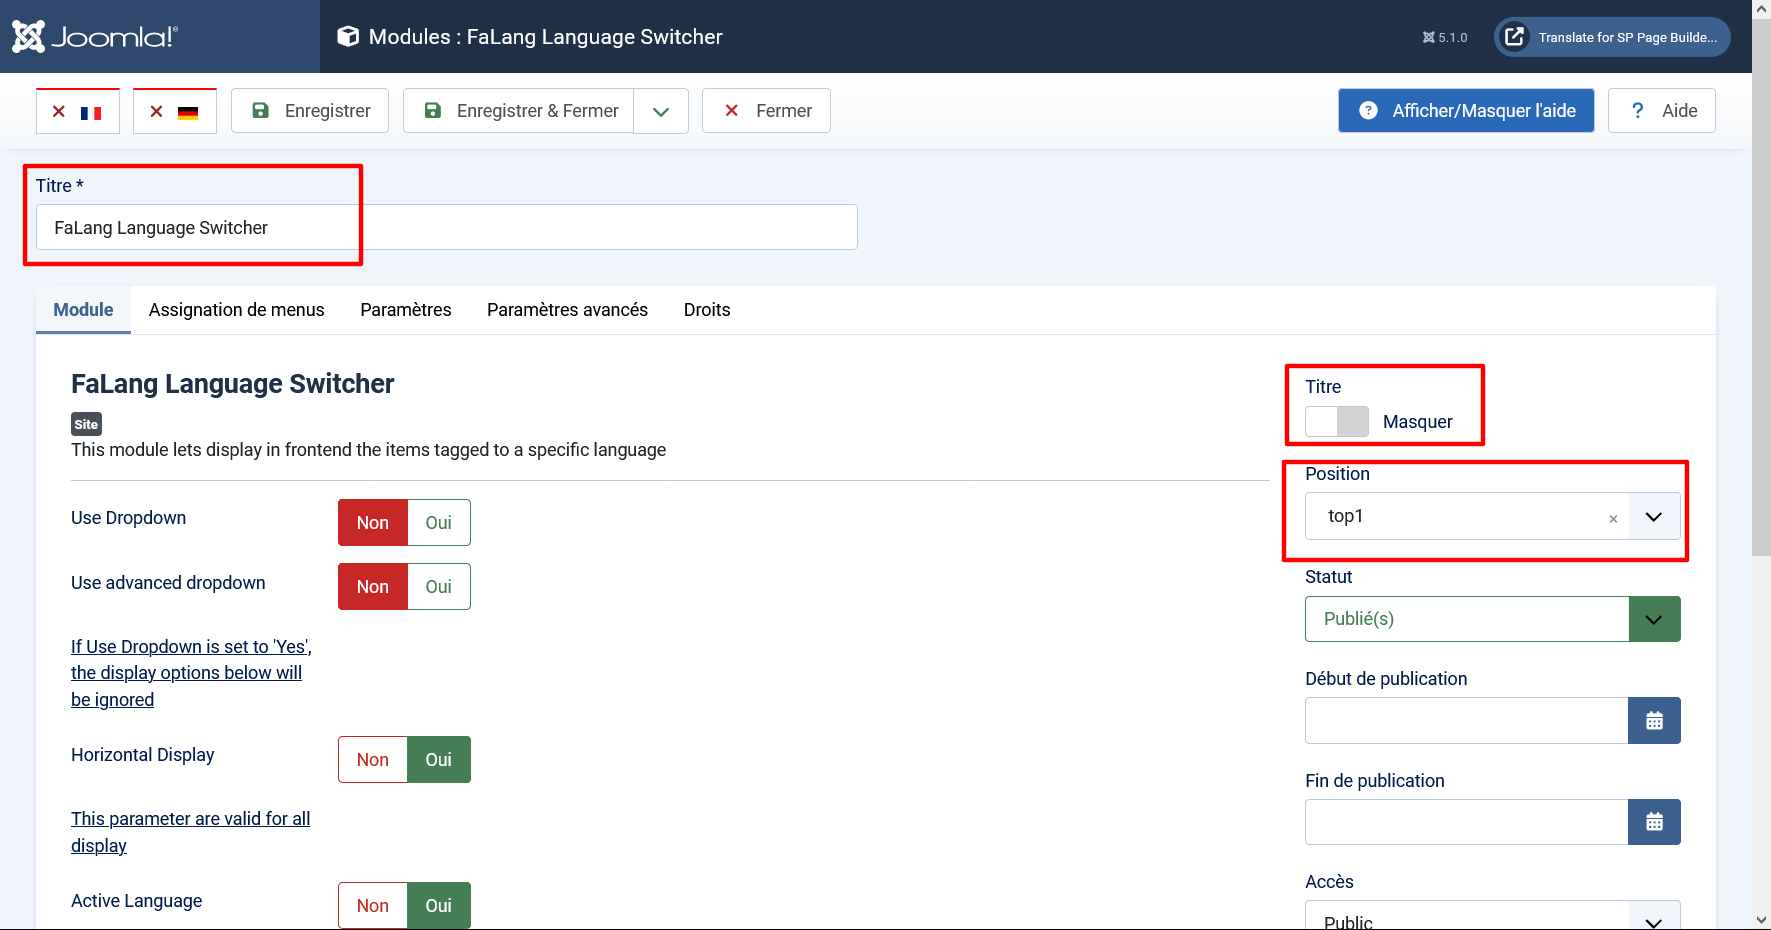
Now the Language Switcher module should appear in your Site Module. Click on the Module.
Step 8: Translate Home Page
Open the SP Page Builder home page
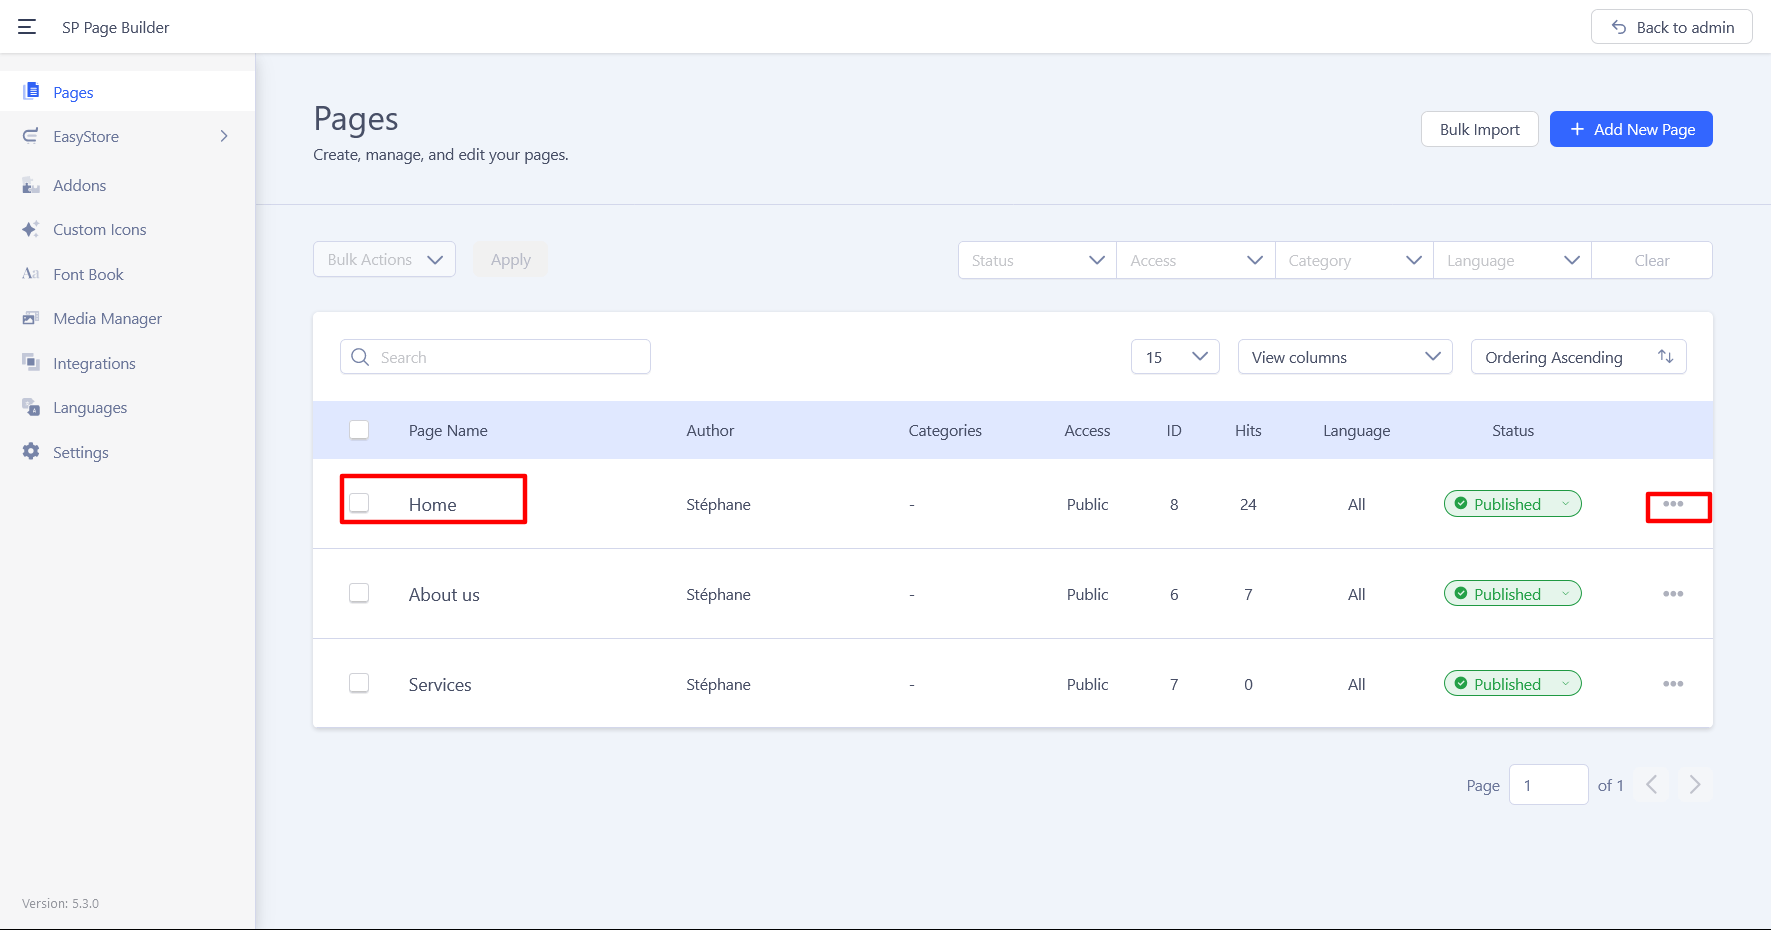
Heading translation
Each SP Page Builder addon's have extra information for translation.
For the heading only the title need to be translated
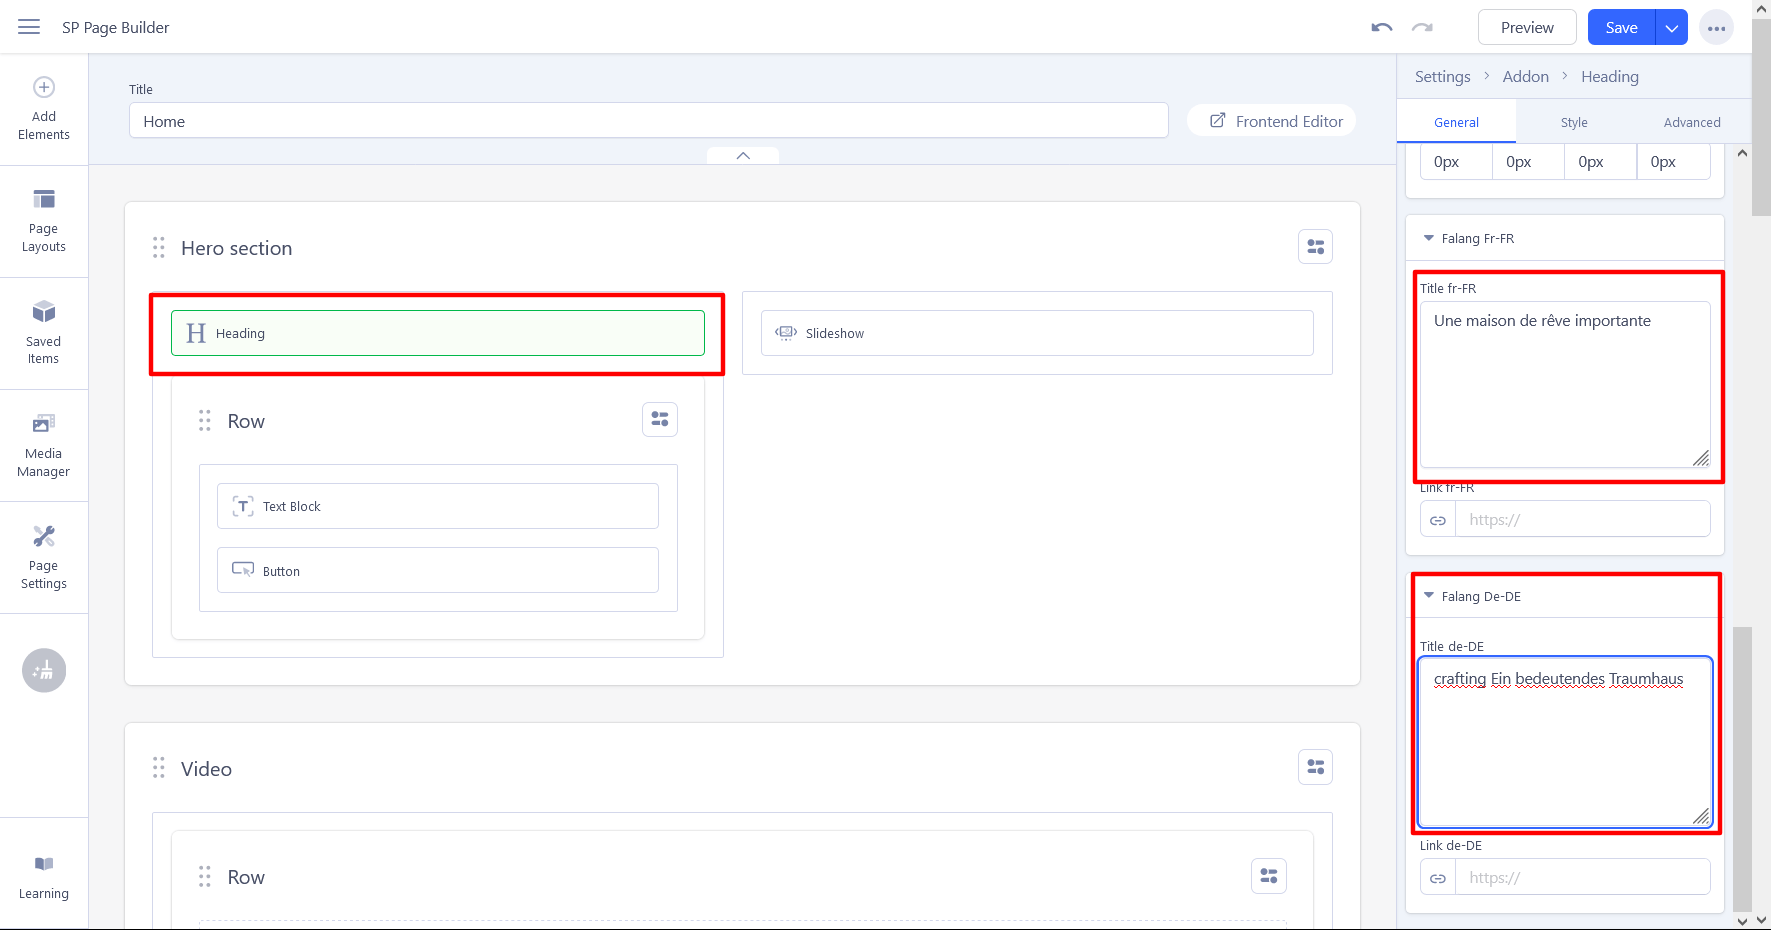
Text Block translation
For text block , you can traslate the title and the content.
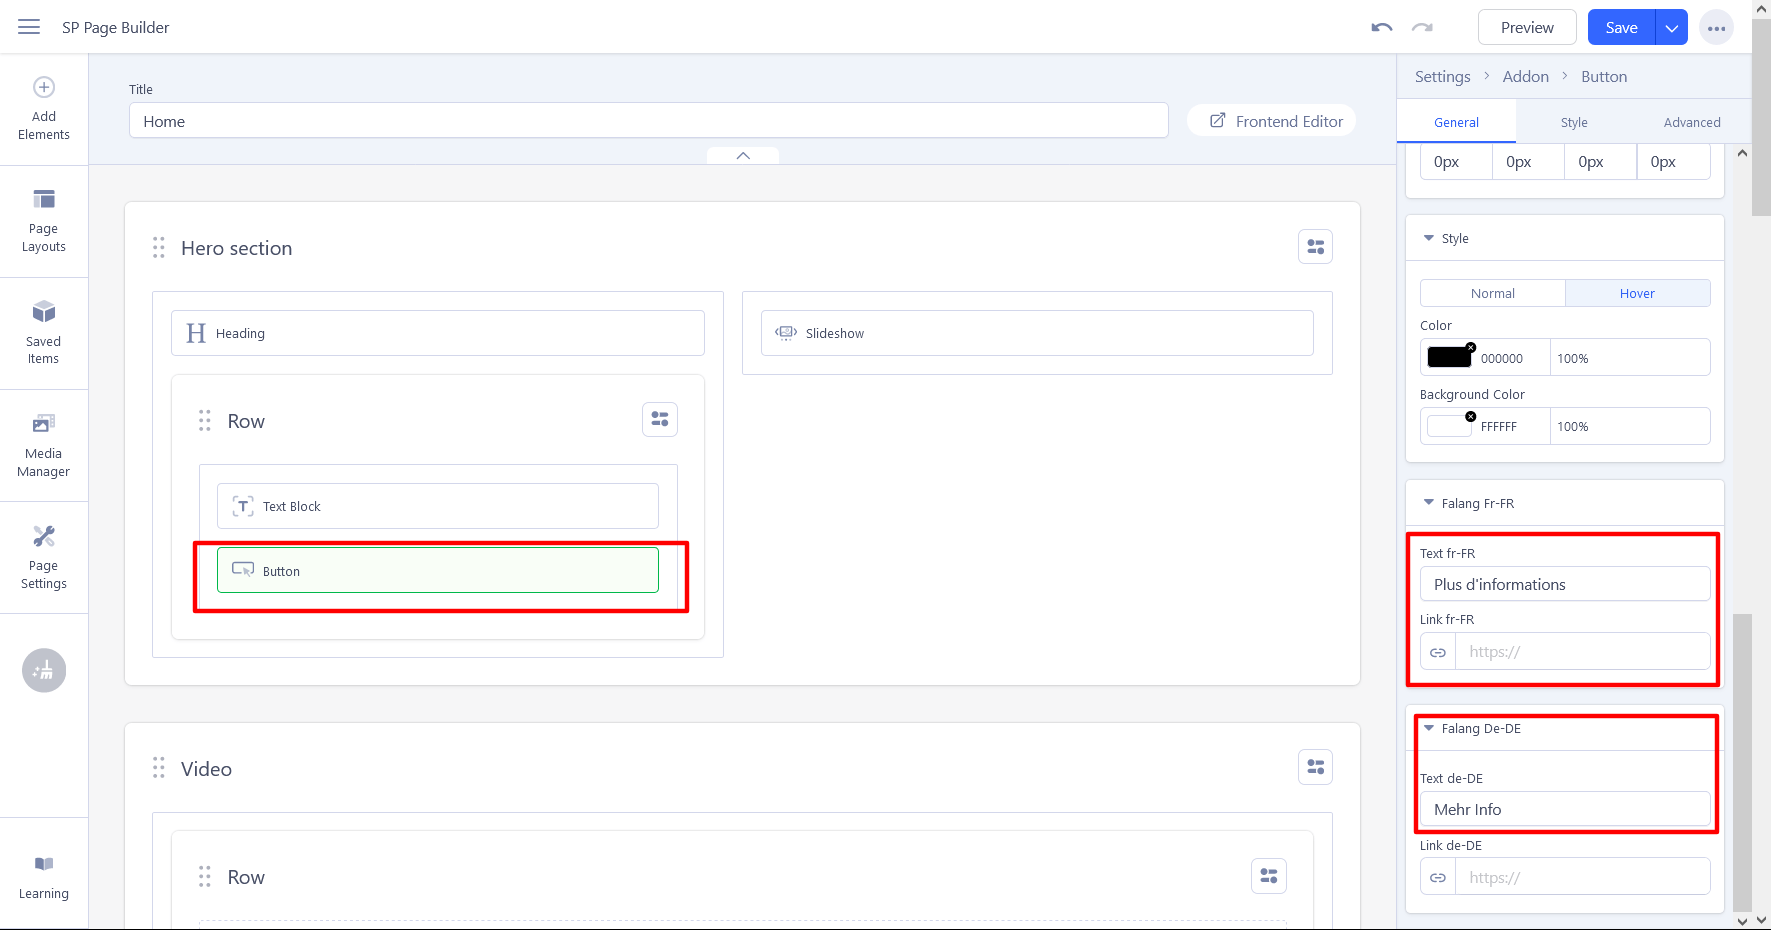
Button translation
The button allow the title and the link for translation
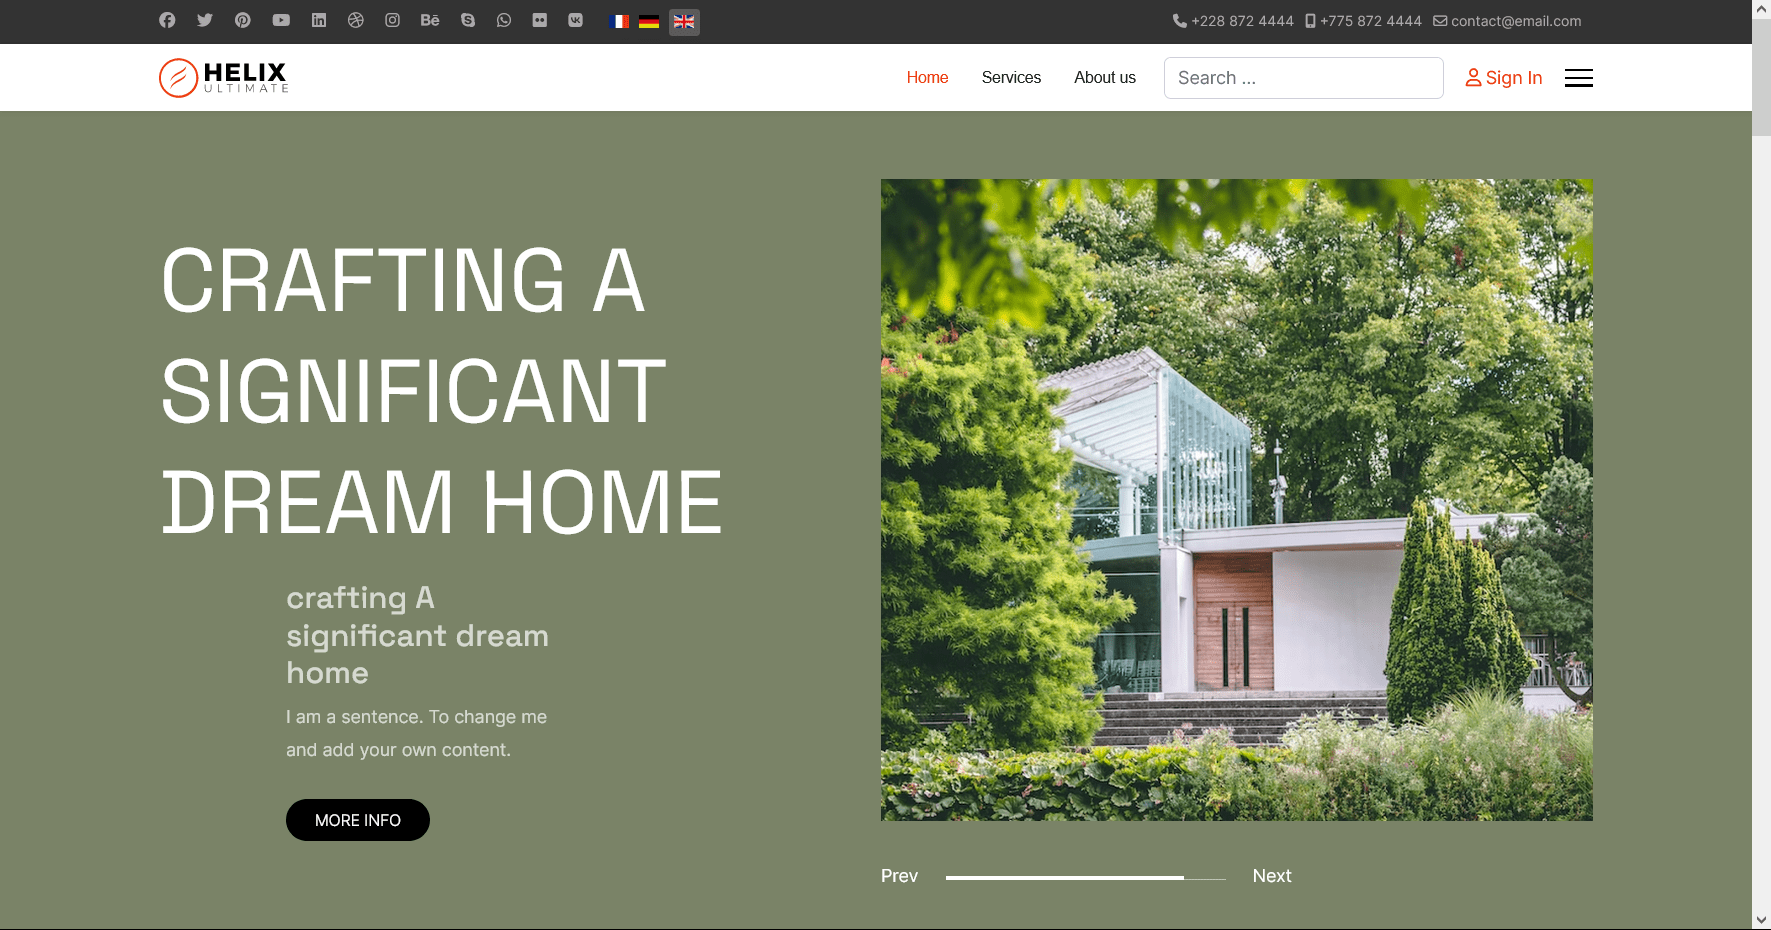
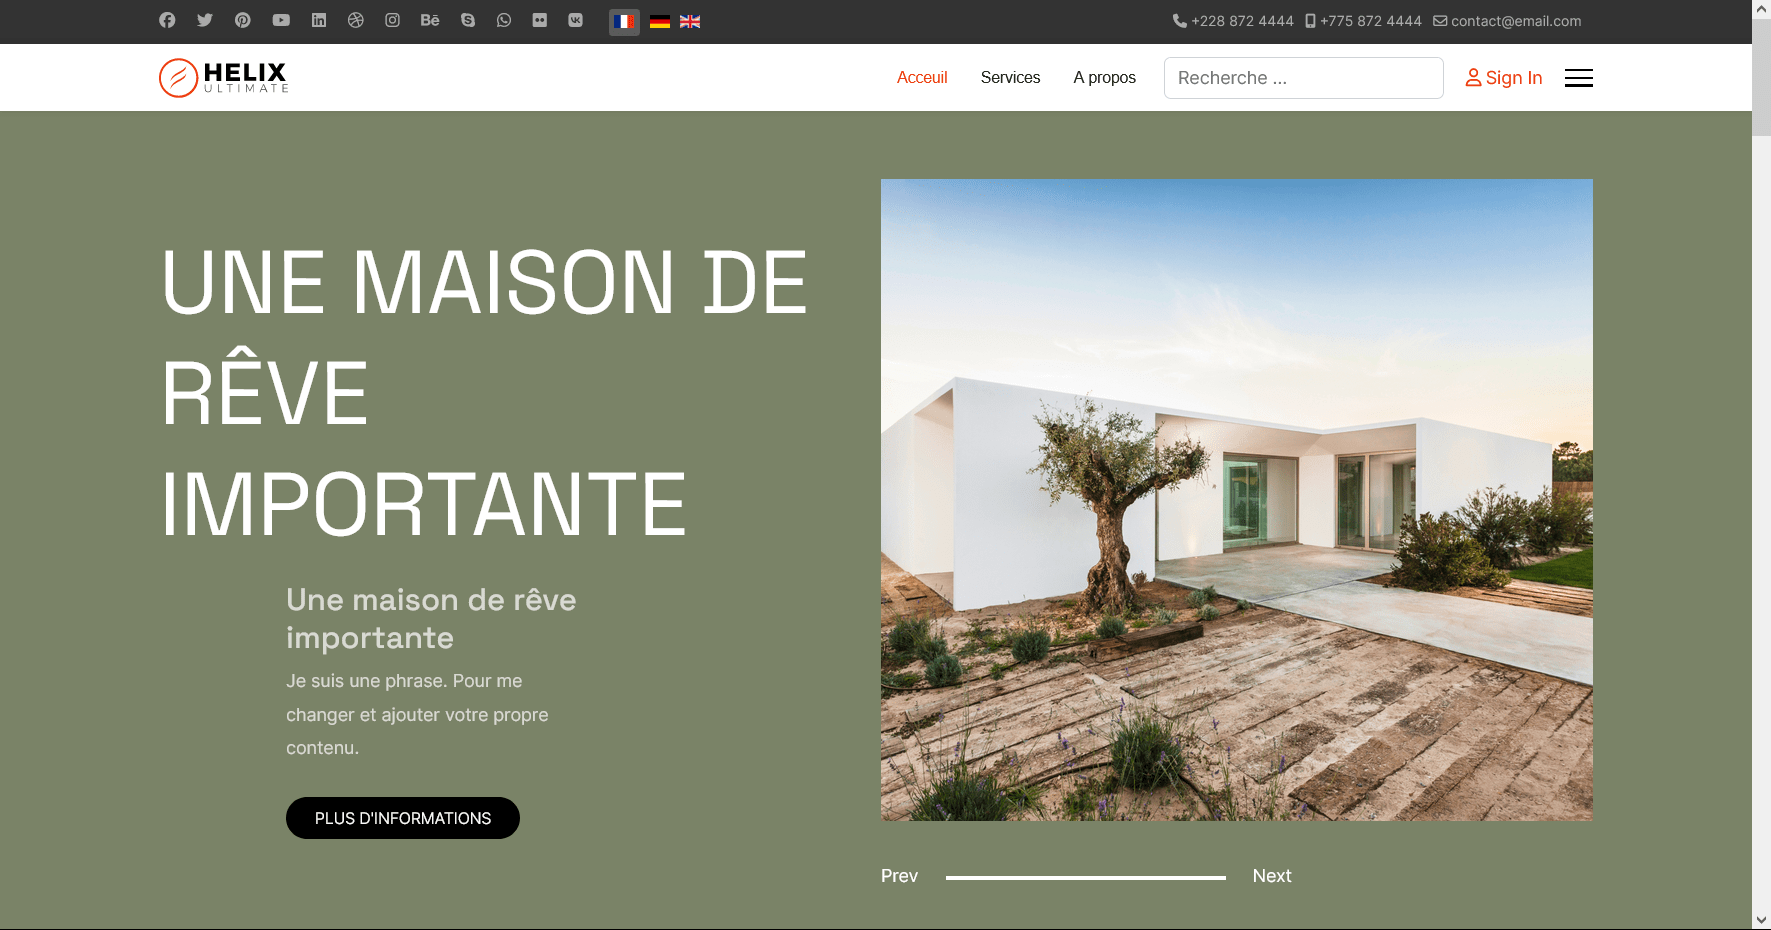
Final Step Let’s see what the translated pages look like after translation.
English (Orignal)
French
German
